 Bob's
MG Midget Website
Bob's
MG Midget Website| Bob's
MG Midget Website |
| Rear Shock Conversion | |||||||||||||||
|
The rear shock absorbers on a Midget are really quite antiquated and inadequate for driving on modern roads, just ask anyone who has ever driven over a speed hump. On each corner of a Midget is a lever arm shock which damps out the shock of a bump in the road or the pressure on the suspension from handling by the action of a moving piston forcing oil through a valve. You can adjust the action by changing the valve or by upgrading to a stiffer oil. Neither of these are a good answer to improve handling. The design is basically an adaption from those used on horse drawn carriages from the turn of the last century! The answer to improve this is to fit the more modern telescopic shock absorbers. These give a much more progressive feel to the handling as the telescopic dampers move up and down. This is all well and good but the car was never built to take telescopic shocks so how do we get them to go on and what do we need to use? Well, we will fit a set of telescopic shocks for another vehicle as a conversion. The cost of this project was:
The way they are fitted are as follows. |
|||||||||||||||
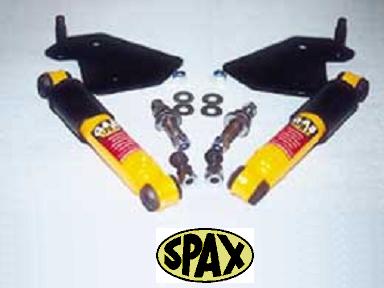 |
A
Kit This is the kit that spax produce for the Midget 1500. It is very good and very complete and will massively improve the rear end handling (so I'm told) BUT it is about £200 and seemed to me to be overpriced for what it is. I wrote off this idea, being the tight wad that I am! Sorry about the crap picture, it was the best I could find. |
|
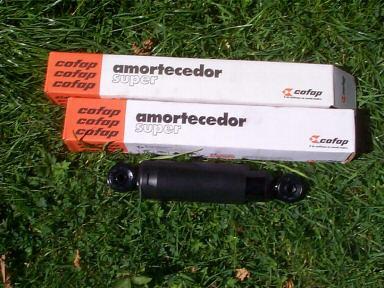 |
Find
Some Shocks In order to replace the rear shocks I needed to find an equivalent that handles a similar weight and travel. The most obvious car to look at is a Mini which is as light as a Midget and has a similar amount of travel. I looked out for some cheap shocks and found these to experiment with. They are nothing special and just cheapy replacements for the standard Mini shocks but just the thing to experiment with. Dimensions: bolt eye to bolt eye they are 330mm extended and 220mm compressed. |
|
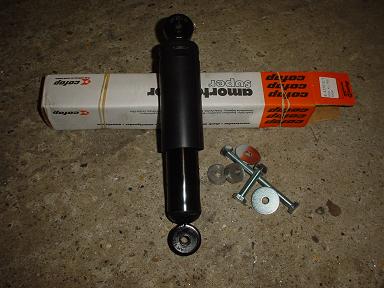 |
My
Kit All I had to do to get it to fit is add a couple of spacers and some bolts with nyloc nuts along with some repair washers with wide flanges to clear the body and chassis and we were in business. The spacers are made up by cutting into a piece of 12mm alluminium plate with a 50mm Starret holesaw and then drilling out the centre with a 10mm drill bit. After this was all prepared it was just a case of bolting them up to the car. |
|
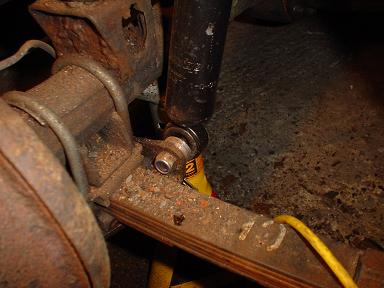 |
Fitting
to the Axle The bottom connection went on fine and bolted up nicely to the lower bracket on the axle. A secure fixing was made using the spacer, wide flange washer, a bolt and a nyloc nut. |
|
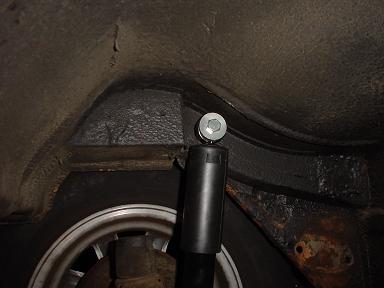 |
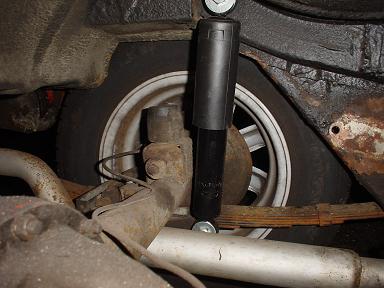
Fitting
to the Chassis Top connection to the chassis using the existing check strap mounting point. Note the larger spacer which was necessary to get a 45mm offset to give enough clearance and the wide flange washer to prevent the shock coming off should the rubber bush fail. Interesting to note the position of the old lever shock mountings in relation to the new ones. All was going to plan and it looked real easy until ..... |
|
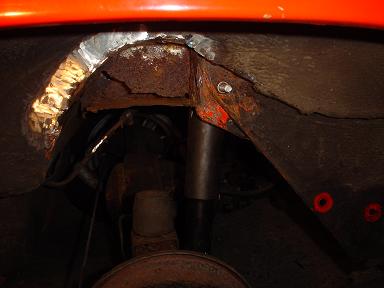 |
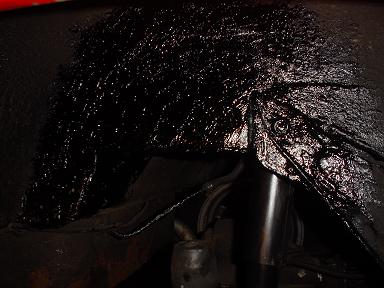
Aaaaaaaagh My rebound box has fallen off! |
|
 |
Oh
Dear It seemed that the rebound box was a lot worse than I thought before I started. It must be that time to get out my MIG welder in anger. It does look really bad though doesn't it? |
|
 |
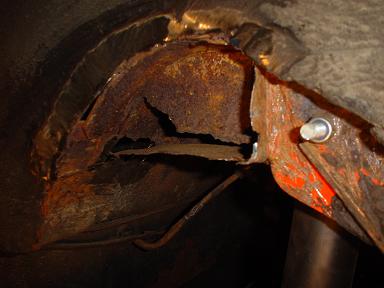
Real
Bad It was so bad it had come through to the boot space. That MIG has really got some work to do. |
|
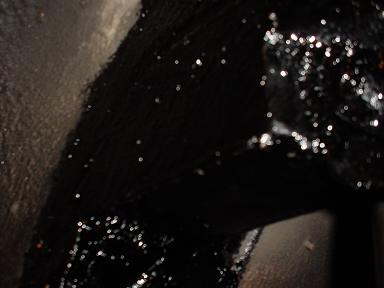 |
That
looks better Well, I made up a new box from a bit of sheet steel. Offered it up to the car and welded it in place. Wow, what a difference it made to how the car looked. |
|
 |
The
final repair The new box now looks all back to original and should keep my MOT man happy. Once it gets a bit dirty it should blend in nicely and look completely as built. |
|
 |
As
fitted This gives a better persective on the overall job and you can see how it is fitted. You can also see that it gives a very vertical position to the shocks that should provide a more positive action over the angled mounting attitude of the other conversion kits available. Eventually I shall replace the standard dampers with some gas adjustables but these will do for now. |
|
The moral of this story has to be that there are many things that can go wrong on a simple job and even when you think you have things sussed out it can all turn in a moment. I should have known better and done a better inspection of the underside on the car before starting. Anyway, in the end it has all worked out a lot better and the car does feel a lot more sure footed. |
Drop me a line if you want: mgbob@amphibia.co.uk
A link to my company website Experts in legionella and control of legionnaires disease
|